Unless you have been living on an iceberg you already know that Lightroom 6 / Creative Cloud was released today by Adobe systems. Amid the buzz and hype of the option to purchase Lightroom outright or move to the subscription “Cloud” option (If you are already a full suite subscriber such as myself its a free download to add Lightroom Creative Cloud) and the somewhat spurious facial recognition and HDR offerings (and did we really need ‘Pet eye correction?’) there are actually a couple of pretty cool new features – One of which I have been wanting for a very long time.
As a landscape and Nature photographer one of the tools I find myself frequently using in Lightroom is the graduated filter. I still use graduated neutral density filters extensively in the field as I prefer to do as much as possible in camera, but I also frequently find a need to use the Lightroom offering as well. The problem up until now has been its been difficult to darken a sky for example without darkening the peaks of a mountain that rise up into the sky.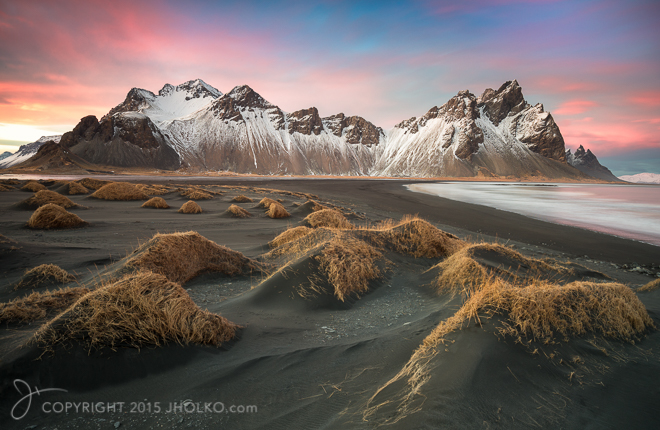 Take the photograph above as an example. If I apply a gradient filter to this sky in Lightroom 5.x and pull it down over the mountains it very quickly destroys the image as the tops of the mountain peaks are darkened along with the sky. This creates a very unnatural effect. Up until now you had to accept the darkened peaks and then create a local adjustment and paint back in exposure compensation where the peaks had been darkened – it was a real pain. Now in Lightroom 6 / Creative Cloud Adobe has given us the option to paint out areas of the graduated filter and solve this problem of unnaturally darkened peaks without a kludgy work around. Landscape photographers rejoice. Our workflows just got simpler. The technique is quite well illustrated in the video below that outlines some of the new features in Lightroom 6 / CC.
The other new feature I am very pleased to see relates to performance. Lightroom 5.x was notoriously sluggish. Even my 8-core Mac Pro with 64 gig of RAM and a super fast SSD didn’t set any speed records for image processing. In this new release Adobe has finally enabled GPU processing in the develop module which means if your GPU is compatible you should see a fairly significant boost in the responsiveness of the develop module adjustments. Details of how to check this feature are also in the video above.


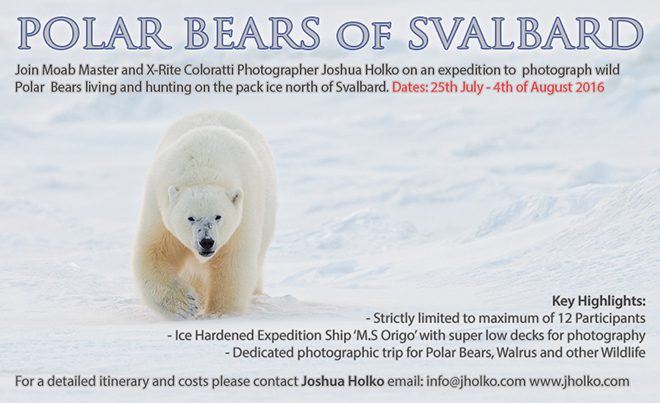 The expedition is for a strictly limited number of just 12 participants (only four places remaining) plus leader and is dedicated to the photography of Polar Bears living and hunting on the sea ice. Our intention is to sail directly north from the small town of Longyearbyen in Svalbard to approximately 80 degrees North to the very edge of the permanent pack ice. At our northerly most point we will likely be less than 600 miles from the North Pole.
  We will be using the ice hardened expedition ship M.S Origo which will enable us to skirt the edge of the pack ice searching for and photographing Polar Bears. M.S Origo is widely regarded as the best ship in the Arctic for Polar Bear Photography and has been my ship of choice for this expedition for the past three years. With its super low decks and operable portholes a mere 50cm above the water line we can photograph at eye level with wild Polar Bears. Our expedition ship is also equipped with sufficient zodiacs and crew for all photographers to be shooting simultaneously with plenty of room to spare for camera equipment – So bring what you need! On this expedition we will also likely photograph Walrus, Seals, Whales, Arctic Foxes and the many Arctic sea birds including the rare and angelic Ivory Gull. To get an idea of the sort of wildlife photographs you can take on this expedition please visit the
  Due to initial registrations from those who missed out on the 2015 expedition there are only a few places left before the expedition will be sold out (
 This brand new expedition has also just been featured in Hong Kong’s Jetsetter Magazine.