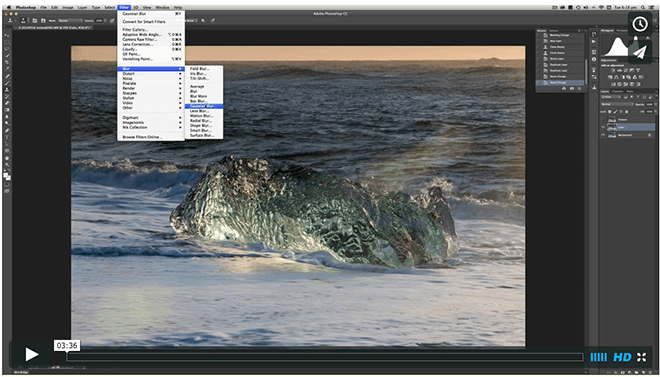
I received an email today from one of the participants on my winter Iceland workshop this year asking me if I new a good way to remove a really nasty lens flare from a photograph. It has been a while since I worked on an image with lens flare, but the email got me thinking about a frequency separation technique that is often used for retouching skin and can work equally well for removing really nasty lens flares. Its a relatively simple technique that takes just a few steps to achieve in Photoshop but that can really save a file that might otherwise be destined for the trash. The key to this technique is the separation of colour and texture into different layers. This is a really important step as it enables us to work on just the colour component of the photograph without affecting the texture (lens flares are just colour aberrations and contain no texture). This makes this technique especially useful for photographs that have textured areas overlaid by lens flare and the image I received today was a perfect example. To make things easy I have recorded a short video that shows how this process works and what the steps are in Photoshop Creative Cloud to use this technique. Just click on the image below to watch the video. I realised after I had uploaded the video that I neglect to mention that you must ensure that you have sample set to: Current and Below when using the Clone Tool. If you only have ‘current’ set you will not get the desired effect. So there you you have it, a simple technique that might just save a photograph you might have otherwise discarded.

