Short of dropping and smashing an expensive camera or lens there isn’t much else that puts abject horror into photographers like the thought of being forced to check their expensive camera equipment on their next aeroplane flight. The mere thought of handing over tens of thousands of dollars of camera equipment to the airline muppets that will subsequently treat it with utter disdain is the stuff of nightmares. For many photographers I wager the process of actually getting their beloved camera equipment safely onto an aeroplane is frequently the most stressful part of their next photographic odyssey. As a result I decided to share my experience on how best to get your precious camera equipment safely onto your next flight. If you shoot with a light weight mirrorless camera system with only one or two lenses or if you only carry one camera and one lens then this article probably wont mean much to you. However, if like me you shoot with large Pro DSLR’s and multiple large telephoto lenses then I am going to share what I have learned (although the airlines wont love me for it) when it comes to the often difficult and stressful task of avoiding checking your expensive camera equipment.
When it comes to packing your camera gear to carry onto the plane for your next adventure I recommend you actually check items such as tripods, tripod heads, filters etc. inside your main luggage. Basically anything that does not have delicate electronics inside it should be checked to both minimise the weight and size of your carry on but also to free up more room for more lenses and cameras. I always check my tripod (and tripod head), and accessories such as filters, battery chargers and anything else that does not have delicate electronics inside it. All of these items can be safely wrapped in jackets and clothes and transported with relative safety. In all my many hundreds of flights I have never had any of these items damaged in the cargo hold. If you are really paranoid about these items then pack them in a Pelican case and then place the pelican case inside an old duffle bag.
In relation to airline carry on restrictions; it is important to understand that there is no standardisation amongst the airlines for the amount, size and weight of your carry on luggage. The requirements vary wildly between airlines and perhaps more importantly the enforcement of the restrictions are very much at the whim of the airline employee you happen to score on the day. Their state of mind and mood (and first impression of you) is as likely to have as much impact on your ability to get your camera equipment on board as any ‘official’ airline regulation. If you are unfortunate enough to encounter an employee drunk with power and hell bent on enforcing their interpretation of a regulation you could be in for a very tough time. All I can really advise in this case is that you remain calm, polite, smile and no matter what remain the voice of reason. Loosing your temper and getting frustrated will just make said employee dig their heels in even further and it will ultimately result in you being forced to check your equipment. If there is one thing I have learned over the years of flying and dealing with airlines its that loosing your patience and temper rarely gets you anywhere. Your Choice of Camera Bag: Choose your carry on camera bag with great thought and care. There are a multitude of bags on the market from which to choose and they vary greatly. You want a bag that is as light as possible when empty and that holds as much as possible (or at least as much as you need to carry). The bag should fit most airlines size restrictions and should ideally be black or a very dark colour to avoid attracting unnecessary attention. Your carry on camera bag should also be easy to transport and not be a burden to schlep through airports. It is beyond the scope of this article to discuss individual bag models in detail, but personally I grew tired some time ago of backpacks without rollers and nowadays prefer the convenience of a roller bag which I then re-pack for shooting into a backpack at the other end. The backpack gets filled with items such as battery chargers, tripod heads etc. and placed inside my checked luggage. The roller bag is literally just for transporting my cameras and lenses from home to my destination.
 Airline Status: In short, airline status counts. If you have one of the higher status levels with your chosen airline you are far less likely to encounter a troublesome employee intent on forcing you to check your gear. I can recall several instances where I was approached and queried on my camera bag by an airline employee where I was able to quote my status and shut down the approach with a friendly nod and smile.
Likewise, if you are flying business or first class (which frequently come with much larger luggage allowances) you are far less likely to encounter problems with your carry on camera equipment. If you are flying economy without status then you do need to be a lot more careful about managing your carry on equipment.
Just a quick note on status. It has been my experience that pretty much any status you might hold below the very top tier of an airline is virtually worthless when it comes to any perceived privilege you might be lucky enough to receive from an employee. It is the easiest excuse in the world for an employe to deny you whatever they like because you are ‘gold’ and not ‘platinum’. I recommend you therefore consider carefully quoting your level of status to an employee if you are not truly top dog. Even if you do hold top status be careful how you deliver this information. Any perceived arrogance is likely to be dealt with swiftly and I guarantee you will ultimately loose the battle.
Airline status comes with many benefits over and above access to airline lounges that assist with getting your camera gear onto the plane. Frequently status allows you to board before the general population which means you are far more likely to secure an overhead bin for your bag on a full flight. I have used my status to board quickly on countless flights and it has always enabled me to secure overhead storage. I try to avoid being the very first to board as this draws unnecessary attention to my carry on camera equipment, but I do try and board in the first dozen or so people when possible.
When I first started flying for my photography more than ten years ago now I had no status with any of the airlines and simply could not afford business class (or even premium economy) seating. I was lumped with the herd from checkin all the way to my final destination and speaking candidly these were my most difficult times when it came to carry on camera equipment. When I look back at all the flying I have done over the last decade there has been only one occasion when I was forced to check my camera equipment and it was on one of my very first flights to New Zealand with a low cost airline that shall not remain nameless (and with whom I shall never fly with again after they subsequently stranded me in Tasmania – thanks Jet Star). It was more my lack of experience in knowing how to deal with the employee than the actual process that resulted in my gear being thrown in the hold with the general baggage. Thankfully it arrived undamaged at the end of the flight, but it was a stressful time for me.
Special Assistance Boarding: Those who require special assistance during boarding such as those with children or those in wheelchairs or those with some other ailment that slows their boarding process are usually boarded first. If you have a disability or something that does slow you’re boarding process you should absolutely take advantage of it. I broke my ankle many years ago quite badly in a surf accident and frequently have trouble with it being stiff and sore. It doesn’t really slow me down, but I do have a letter from my doctor that I can produce to help me board an aircraft early if I feel it is warranted. I don’t suggest you try this approach unless you have something in writing from your doctor to back it up. In the few times I have used this reason to board early I have never been asked for proof. However, I always carry my doctors letter just in case.
The Additional Seat: Musicians often purchase an additional seat on a plane to transport their expensive and delicate instrument without having to place it in the cargo hold. Whilst this is potentially an expensive option, it is a viable one and I have purchased an additional seat on short connection puddle hops in the past on several occasions. An additional seat removes the stress of the entire carry on process. Just be sure to advise the airline at the time of booking that the additional seat is for a camera bag. It does tend to throw the airline into confusion when you check in for two seats as one person.
The Check-in Procedure: When you approach the check in counter don’t be too obvious about the size of your camera bag. I always approach the counter with a smile and friendly hello and I always ask the attendant about their day. You would be amazed how far a little friendly banter can get you and more often that not it has been my experience that the attendant is more than happy to actually be spoken to like a human being and will as a result frequently help you with better seating requests as well as anything else you might need. There is a side benefit to befriending your check in attendant in that it frequently side tracks them from their routine procedure. As a result they quite often simply forget to ask about carry on luggage. Lastly, the check in attendant often also mans the gate where you board the aircraft. Offending them at the check in counter might cause you problems later on at the gate.
If you are travelling with a friend or companion consider checking in one at a time. One of you can hang back and mind the camera bags whilst the other checks in. You can then swap and thus avoid having to actually take your camera bag to the check in counter.
If you are extremely concerned about your camera bag being weighed during the check in procedure consider removing heavier items and putting them in large vest pockets (always wear a photography vest with large pockets when travelling). You can then have the bag weighed at check in and replace the items at your convenience. The benefit of this approach is some airlines tag the weighed carry on with an “approved carry on” tag. If you have one of these on your bag you are more or less home free. When I do score one of these tags I always hang onto it for as long as I can and will re-use it if possible.
The International Connection: If you have flight connection with different carry on restrictions you can actually advise any employee who might query you on your carry on luggage that you have just come off an international connection that allowed you to carry your equipment onto the plane. Of course, their decision to subsequently allow you to carry it onto their flight is wholly at their discretion but this excuse has worked for me in the past on several occasions. Much depends on the temperament of the employee and your responses.
You can also play this the other way and advise the attendant you have a very tight connection at the other end and cant risk checking your bag for fear of missing you’re connecting flight. Again, I only advise you adopt this approach if you legitimately do have a tight connection. It’s extremely easy for anyone to check on your next travel movements and honesty is quite frankly the best policy.
Signing Over Responsibility: If you score an employee who is forcing you to check your camera equipment you could try explaining (politely) to them that the equipment is extremely delicate and very, very expensive. And that checking it in the hold will surely result in thousands of dollars of damage to the delicate IS / VR systems in the many lenses. If you are forced to check it you will require the airline to sign responsibility for the equipment. Of course, this will put the employee immediately on the back foot and force their hand. Either they will seek a supervisor to deal with you or more likely simply explain to you that it is not airline policy to sign for responsibility. In this case, all you can really do is advise them that without someone signing responsibility for the equipment you simply cannot allow it to be placed in the hold. I admit, I have not had much luck with this approach but it is worth keeping in the back of your mind as a potential option when all other avenues seem closed. I do recall one stand off (I forget which airline) where the employee at the gate simply refused to allow me to board with my camera bag. At this time there were probably another one hundred people behind me all waiting to board. I decided to force the attendants hand in this instance and politely advised them that I could not therefore board the plane and would they please arrange to offload my checked luggage. Frustrated by the thought of this the attendant simply gave up and waved me onto the plane. I was lucky in this instance and if you decide to play this bluff you need to be prepared to follow it through.
But I am a Professional: In all of my travels this is probably the most common excuse I hear used from other photographers (it is also the worst possible excuse). I do not advise you tell anyone you are a professional photographer when travelling (least of all an airline employee). If you happen to be unfortunate enough to encounter a savy employee you may be asked to produce a carnet (a passport for your photographic equipment). If you do not have one you could be opening up a huge can of worms that is absolutely not in your best interest. Additionally, if you get pulled into customs or immigration you could end up in a much bigger mess as you are interrogated for your reasons of travel. You absolutely do not want to be asked to produce a work permit unless you are legitimately travelling for work and have all of the required paperwork in order. I advise you always travel as a tourist unless all prior arrangements are made for professional travel.
The Lithium Ion Battery: In the never ending quest for safety the airlines have actually done photographers a significant favour in recent times that you can use to your advantage in certain situations. Many airlines now forbid the packing of lithium ion batteries in checked luggage (as a potential fire hazard). This being the case, if you encounter an employee who seems intent on making you check your camera bag you can politely inform them that it contains a significant amount of lithium ion batteries and that for safety reasons and airline regulations it cannot be checked. I used this excuse quite recently on a flight from Italy to Oslo just as I was about to board a full plane. I was singled out at the gate because of the size of my camera bag and told I had to gate check the bag due to space restrictions on the plane. I simply informed the attendant of the lithium ion batteries and was quickly ushered onto the plane. If you are asked to remove the batteries from the bag you might have to tell a little white lie about them not being removable. I leave that up to you. Either way, by informing the employee of the batteries you are complying with the airlines restrictions and requirement that you actually inform them of batteries in checked luggage. Don’t underestimate the power of this option. It is highly unlikely any attendant is going to force you to gate check equipment containing lithium ion batteries. And if they do, you should request a supervisor.
The Fail Safe Vest: Always wear a photography vest with lots of large pockets when you fly. Not only is a vest a great place to store items such as wallets, passports, sunglasses, iPads etc. its also a wonderful way to carry camera equipment. If you find yourself in a situation where everything else has failed and the attendant is just simply unwilling to allow you take your camera bag onto the plane then simply start unloading your gear from your camera bag into the many voluminous pockets on your favourite photography vest. In all of my many years of travel I have only ever had to do this a handful of times and on each occasion the attendant stood dumbfounded as I reduced the weight of my bag to the enforced restriction. I guarantee this approach will annoy the attendant beyond measure, but there is absolutely nothing they can do about it and you will get your cameras and lenses onto the plane (even if they force you to check the empty bag to make themselves feel better about the encounter).
A side benefit to wearing a photography vest when you travel is you can store all metal items (such as keys, phones, etc) inside the pockets and then just remove the vest for screening at security without having to fumble through all your clothes pockets for all the different items. I never fly without my photography vest.
Lastly, always keep in mind that being polite, temperate and calm is going to be far more productive than becoming angry and frustrated with an airline employee. At times this can be very difficult and on occasion I have become frustrated in some situations. Honestly, this has never worked in my favour. Try and remain the voice of reasoned calm and you are far more likely to win any over any airline employee.
Travel safe.
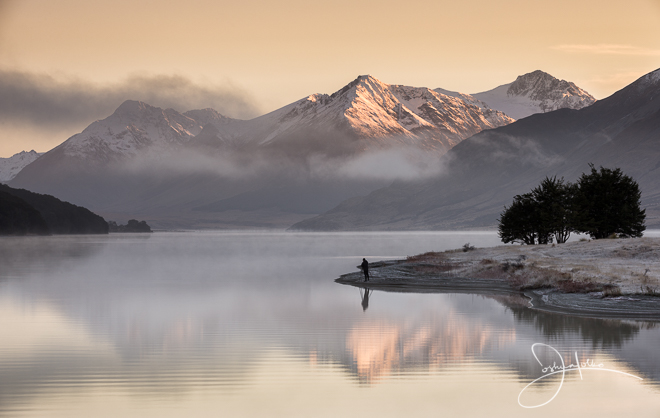 As a few of you are aware I am currently nursing a torn lateral tendon in my right elbow which precludes me from lifting or carrying anything heavy (including cameras). As such, I am sort of restricted to shooting on a tripod at the moment and will be travelling quite light (by my standards anyway). Since this workshop is predominantly all about landscape there is no need for big fast (and heavy) telephoto lenses so I can cut down my luggage quite considerably. I am going to take my two tilt and shift lenses as I find I really love these for landscape work on the tripod, as well as my 100-400mm lens for any long lens requirements. I am sure it is going to be quite liberating to travel this light.

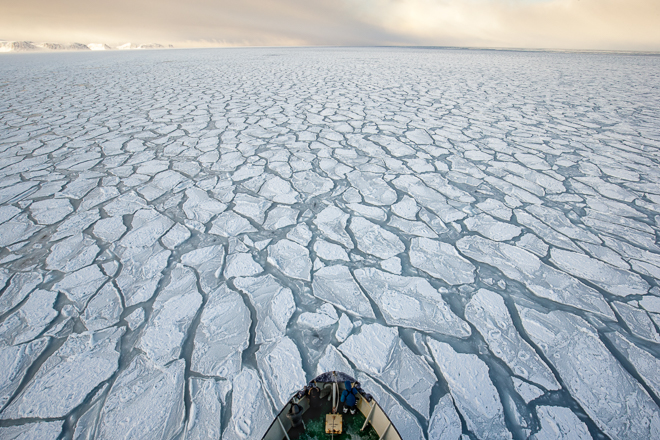
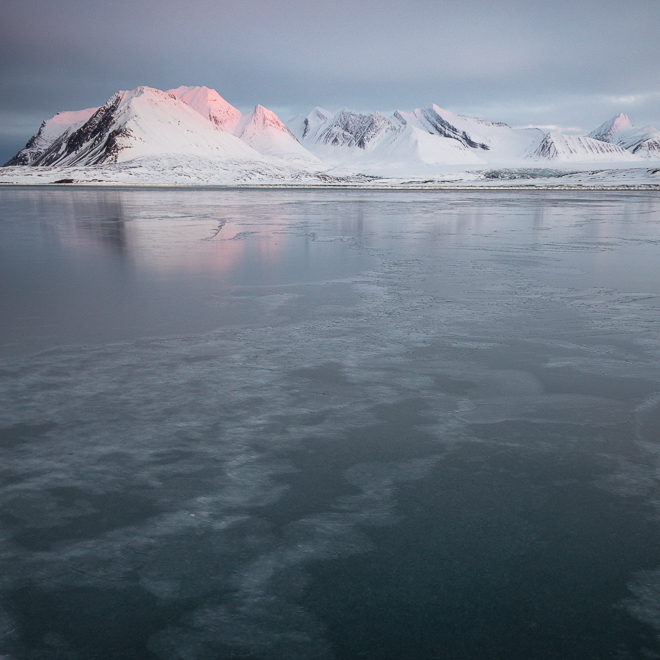
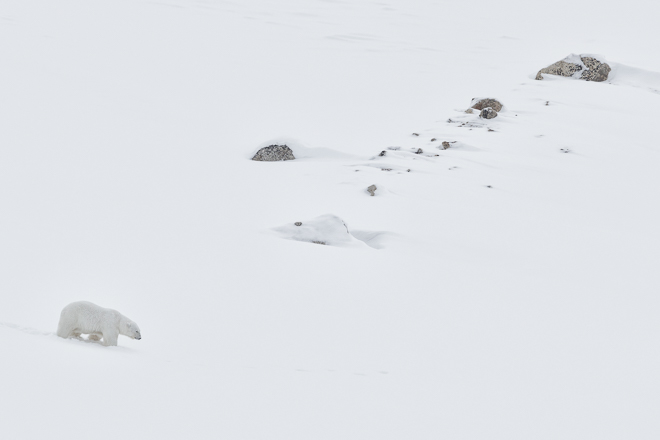

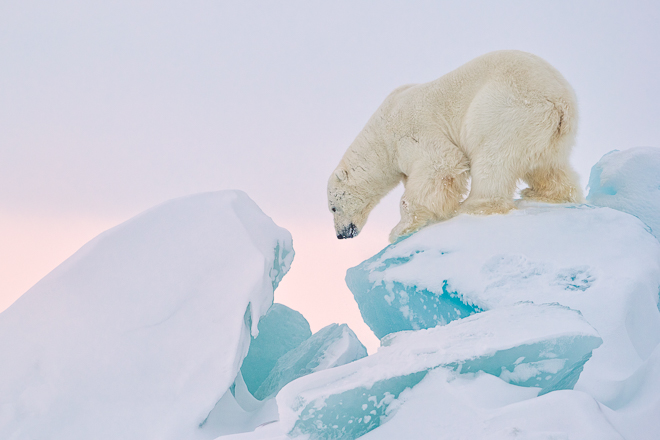 Summer in the high arctic is a very special time for photographers. With twenty-four hours of daylight the photographic possibilities are quite literally as abundant as the day is long. In fact, what would normally pass for night time is actually one of the best times for photography in the Arctic summer as the light is often soft and ethereal with subtle golden overtones.


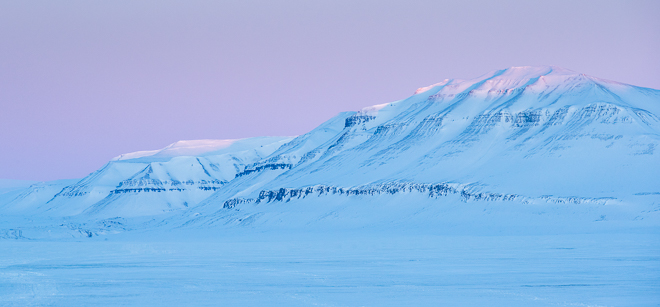
 This exclusive expedition is for a strictly limited number of just 12 participants (some places already spoken for) plus leader and is dedicated to winter photography in Svalbard. I have been fortunate to travel and photograph in Svalbard over many years now in both the summer and winter seasons. Winter is without doubt the most exciting with absolutely wonderful light opportunities in a frozen landscape.
 If you are keen to photograph the Arctic in winter you can register you interest in one of the few remaining places by

