Wildlife photography is one of the most challenging and rewarding genres of Nature photography. Creating powerful and emotive wildlife photographs demands a deep understanding of animal behaviour, patience, and the ability to adapt to unpredictable environments. But beyond all that, there is one factor that determines whether you capture the decisive moment or miss it completely—how well you know your camera.
Over the decades I have been working as a professional Nature photographer, I’ve had the privilege of photographing in some of the planet’s most remote and extreme environments, from the frozen landscapes of Antarctica to the rugged and unforgiving Arctic tundra of Svalbard and Greenland. In these places, conditions can be brutally harsh, wildlife is unpredictable, and opportunities are fleeting. In such environments, there is no time to fumble with settings or second-guess technical choices. Mastery of your camera is the foundation that allows you to focus on composition, storytelling, and, most importantly, the wildlife itself.
In this article, I’ll discuss why knowing your camera inside and out is critical in wildlife photography, the key settings and features you must master, and how this knowledge translates into better images in the field. Even if you don’t shoot wildlife, this article will help you become a better photographer. It may even save you from an expensive purchase and from the common misconception that a new camera is the vehicle to better photography. In point of fact, a new camera is often detrimental to your photography in the short term as you have to learn the new tool.
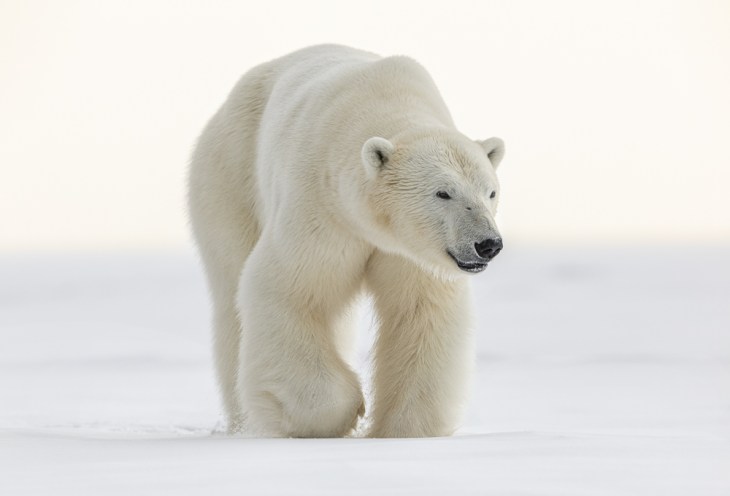
The Unforgiving Nature of Wildlife Photography – Seconds Make the Difference – Wildlife photography is about capturing fleeting, decisive moments. Whether it’s an Arctic fox pouncing on prey, a polar bear emerging from the ice and fog, or a sea eagle diving for fish, these moments are unpredictable and often last no more than a split second or two. If you’re not intimately familiar with your camera, you risk missing the shot altogether. In fact, unless you have complete technical mastery of your camera, including muscle memory for all of its controls, you will almost certainly miss it.

I’ve repeatedly seen photographers in the field hesitate because they needed to adjust their autofocus settings, change their exposure compensation or otherwise make a technical adjustment. By the time they’ve made the adjustment, the moment is gone and the photograph has been missed. Wildlife doesn’t wait for you to be ready—you must be ready at all times.

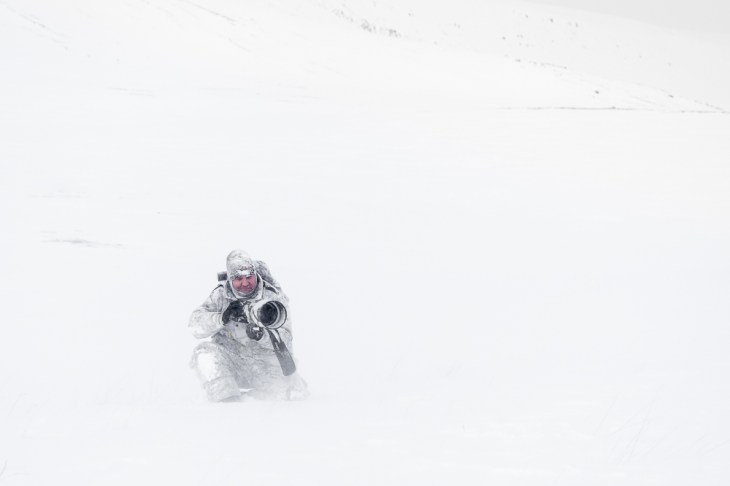
Harsh and Unpredictable Environments – In many of the locations I photograph, the environment itself is a formidable challenge. Freezing temperatures in the Arctic can drain batteries quickly, gloves make it difficult to adjust dials, and snow can easily confuse a camera’s metering system. In such conditions, knowing how to operate your camera by feel—without having to look at buttons or menus—is essential. Even if you take the harsh environment out of the equation knowing how to operate your camera intuitively with muscle memory will improve your photography; regardless of the environment.
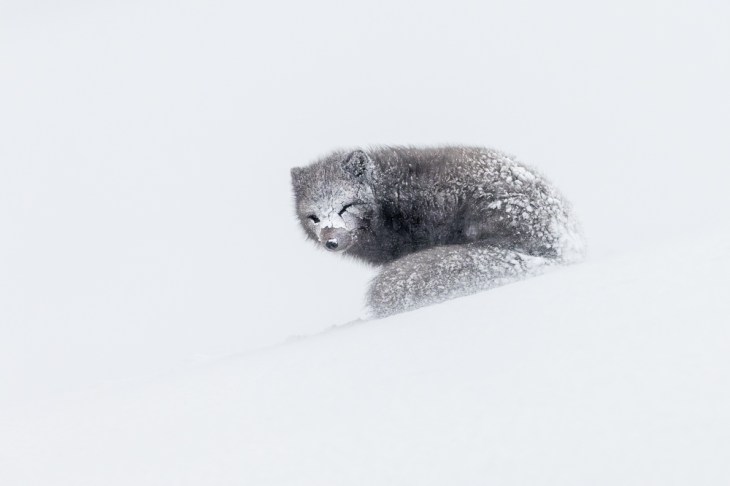
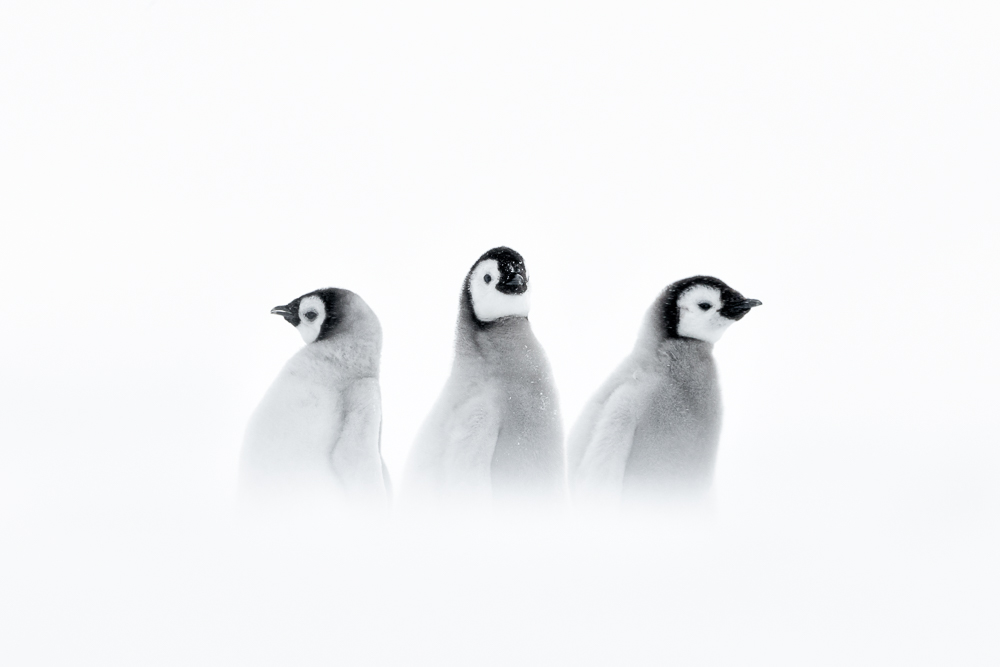
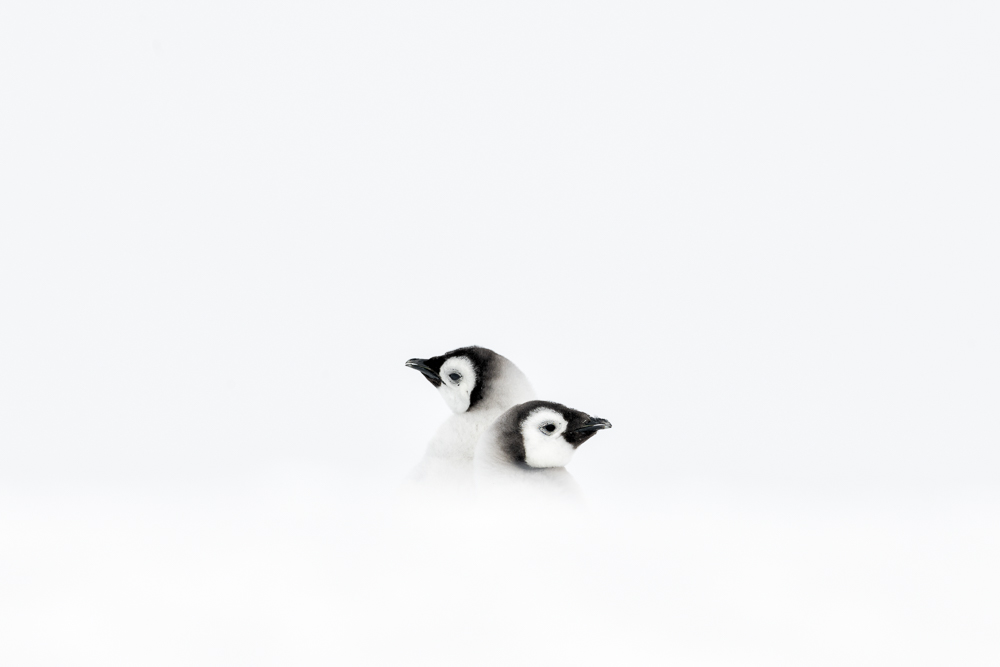
When I’m photographing Arctic foxes in Iceland’s Hornstrandir Nature Reserve, for example, I might be kneeling or laying down in the snow with high winds and blowing ice, tracking a fast-moving subject. In such situations, I cannot afford to be distracted by my camera. Everything must be second nature. The second I have to look away or stop and think about what I am doing from a technical perspective is the moment I stop being an artist and start being a technician.

Essential Camera Skills Every Wildlife Photographer Must Master – Autofocus Mastery – Autofocus (AF) performance can make or break a wildlife image. Understanding how your camera’s AF system works—its various modes, tracking capabilities, and limitations—is critical.
For wildlife, I typically rely on continuous autofocus (AI Servo) and use a combination of single-point and zone AF modes depending on the subject. For fast-moving subjects, animal eye-tracking autofocus (available on newer mirrorless cameras) is a game-changer. However, not all cameras perform equally well in different settings, and understanding your camera’s strengths and weaknesses helps you choose the right settings in the moment. This can only come with experience.

When photographing Arctic foxes, I frequently switch between single-point AF for precise focus (when the fox is stationary or moving slowly) and zone AF for tracking eye and movement (when it’s running or otherwise active). Knowing when and how to make these adjustments without taking my eye off the viewfinder is a skill that comes with practice. Once you master this ability you can free your brain up to focus (pardon the pun) on composition.

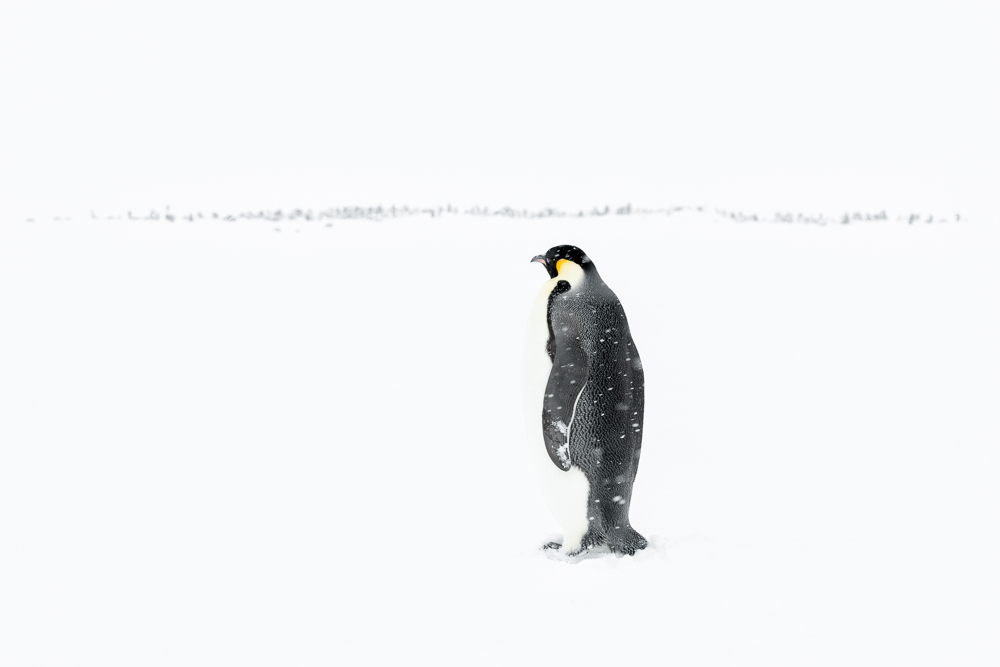
Exposure Control in Extreme Conditions – Wildlife photography often involves high-contrast environments. In the Arctic, for example, bright snow can fool a camera’s metering system, leading to underexposed subjects. Conversely, dark fur on an Arctic fox or polar bear in shadowed ice can result in overexposure.
Mastering exposure compensation and understanding histograms is crucial. I always shoot in Manual mode, allowing me to control shutter speed and aperture with an appropriate ISO setting for the light. Since I shoot in Manual I don’t need to dial in exposure compensation to ensure my subject is properly exposed. I know from experience, that in a bright white snow environment I am going to have to overexpose approximately two stops to ensure my whites are white (and not grey) and that my histogram is is biased to the right (for optimal signal to noise). To accomplish this, I simply shoot a frame, check the histogram and make any required adjustments before the wildlife comes into play.

Shutter Speed and Motion – One of the most common mistakes I see in wildlife photography (after underexposure) is using an inadequate shutter speed. A slow shutter can result in motion blur, rendering an otherwise perfect moment unusable. Of course, there are times when we want to introduce motion blur into a photograph to convey a feeling of movement. Other times, we want to ensure a sharp subject. As a general rule:
• Fast-moving subjects (birds in flight, running mammals): 1/1250s or faster
• General wildlife (walking animals, standing birds): 1/500s
• Slow or stationary subjects: 1/250s or lower, depending on focal length and speed of subject
Keep in mind the above are general guidelines only and you should choose an appropriate shutter speed to your subject. This is also where knowing your subject can greatly assist you.
One technique to try is using Auto ISO with a minimum shutter speed. This ensures you will maintain a sharp image while allowing flexibility in exposure settings. If you try this I recommend setting a ceiling for the ISO so that you control the final noise in your files.
Understanding Custom Buttons and Shortcuts – Modern cameras offer extensive customisation options. I encourage every wildlife photographer to set up their camera for quick access to critical settings. For example:
• Back-button focus: Separates focusing from the shutter button for better control of auto focus and metering.
• Custom buttons for AF mode switching: Quickly toggling between single-point and zone AF is essential. If you happen to also shoot a Canon EOS R1 then you can achieve this with just the one button on the back of the camera.
• Custom mode settings: Saving different exposure settings (e.g., one for action, one for static subjects) allows rapid switching.
By configuring my camera to my workflow, I eliminate unnecessary adjustments and can react instantly in the field.
Translating Camera Knowledge into Better Wildlife Images – Confidence and Speed in the Field – When you know your camera inside and out, you develop the confidence to focus on composition and storytelling rather than technical details. You will free up your brain to become an artist in the field, instead of a technician.
For example, during my Arctic fox workshops, I often find myself tracking a fox as it moves across a snowy landscape. Because I don’t have to think about my settings, I can concentrate on anticipating the fox’s next move, positioning myself for the best angle, and ensuring a compelling background. I am also ready to capture the decisive moment if the fox does something unpredictable.

Better Use of Light and Composition – Technical mastery also allows for more creative freedom. Instead of struggling with settings, you can focus on utilising the best light, framing your subject effectively, and telling a more powerful visual story.
A well-executed image isn’t just about sharpness—it’s about emotion, behaviour, and the relationship between the subject and its environment. Knowing your camera allows you to capture these elements with precision. Remember, we are visual storytellers. We want to tell the story of the wildlife in the environment in which it lives. Keep this in the forefront of your thinking and I promise you your photography of wildlife will improve.

How to Improve Your Camera Mastery – Practice Before You Travel – Before heading into the field, spend time practicing with your camera in controlled conditions. Learn its menus, test autofocus performance, and memorize button placements so you can operate it without looking. Make sure you master the tool (the camera) so that you can take full advantage of all of its capabilities in the field without disengaging yourself from the subject in front of you.
Simulate Real-World Conditions – If you’re preparing for an Arctic or cold weather experience, practice shooting in the cold with gloves on. If you’ll be photographing birds in flight, visit a local park and test your tracking skills. The more you train in realistic conditions, the more prepared you’ll be. When I was teaching myself how to photograph birds in flight I would go down to my local beach on the weekend with my camera and photograph seagulls for practice.
Learn from Mistakes – Every missed shot is an opportunity to improve. Analyse your images to identify technical errors and refine your approach. Continuous learning is key to mastering wildlife photography. Remember to also learn about your subject. The more you know about the wildlife you are choosing to photograph the more you will be able to predict its behaviour and the more likely you are to capture decisive and powerful photographs that fully convey the emotion of being in the field.
Final Thoughts – In wildlife photography, knowing your camera is just as important as knowing your subject. The difference between a missed opportunity and a breathtaking image often comes down to how quickly and instinctively you can adjust your settings. Mastering your camera frees you to focus on the art of photography—the light, composition, and the incredible wildlife we are privileged to witness. So take the time to truly understand your gear, because when the moment comes, you won’t have time to think—you’ll need to react.
ALSO PUBLISHED TO CANON RUMOURS MARCH 3RD 2025