The 2026 Asia/Pacific International Photography Awards have been held, and the results were announced today, 30th March 2026. This year, I entered the Animal/Nature category with five photographs as a bit of a last-minute decision. Quite honestly, I was lazy and did not put in any real effort into my entries this year, spending only a few moments to grab some favourite shots from my Lightroom library and export the required JPEGs. I only skimmed the rules and did not spend any time pondering my entries as I was packing for three months of travel and had other things on my mind. I did not watch the live judging either this year, as it was around 3am in Sweden, so I awoke this morning to the surprising news that I had jointly won 3rd place with my friend Phillip Bartlett and another photographer, John Peters. Congratulations to them both! And congratulations to the overall winner and all those who did well with their entries this year.
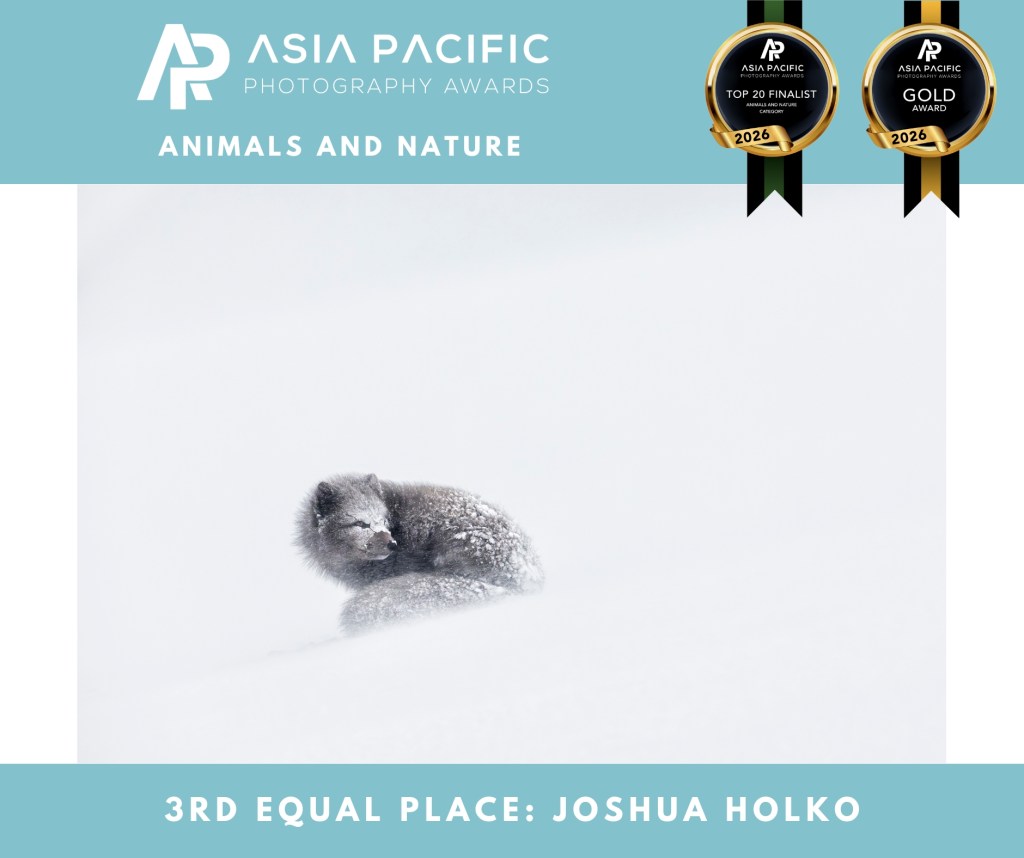
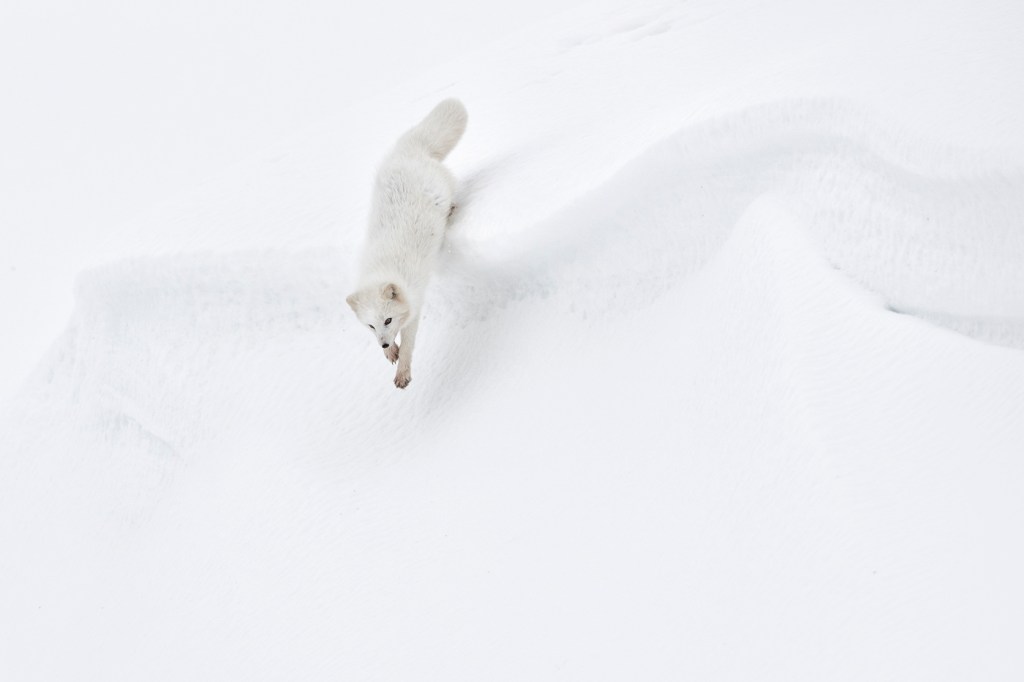
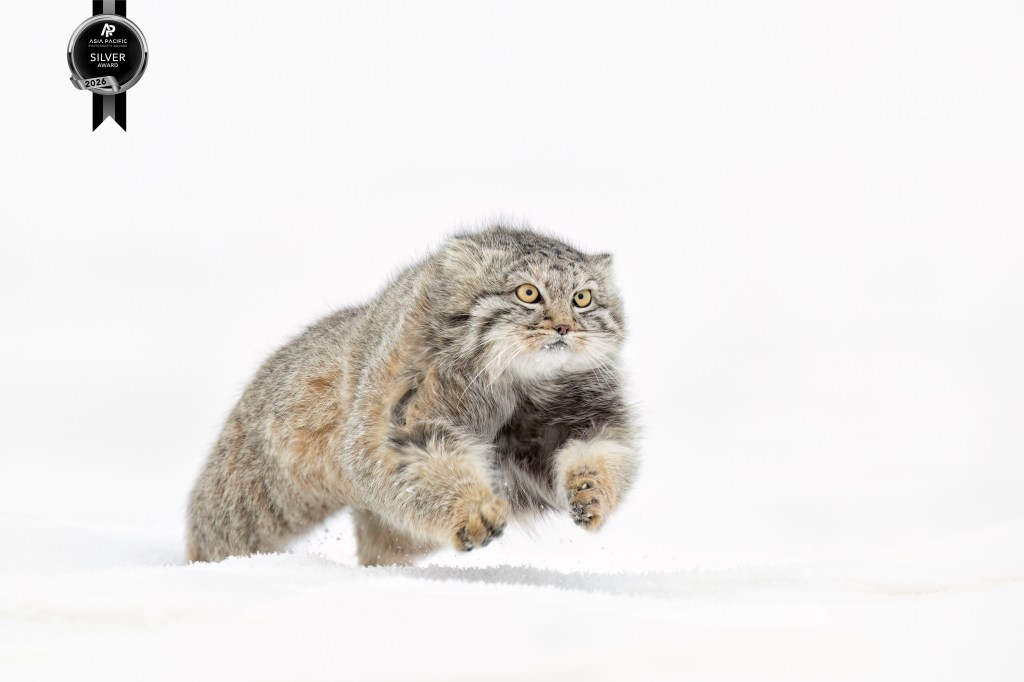
This photograph of the Arctic Fox has been one of my favourites for some time, so I was very pleased to see this image take out a coveted Gold Award and overall 3rd Place in the Animals / Nature Category. For me, this is a very simple yet powerful photograph that conveys both the harshness of the fox’s environment and the incredible toughness of this animal, enabling it to survive and thrive in such conditions. It was fascinating to listen to the judges’ comments on this photograph, as it clearly split the panel.
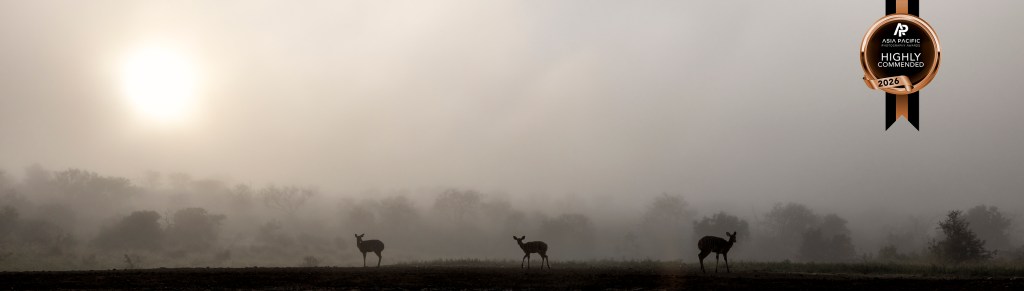
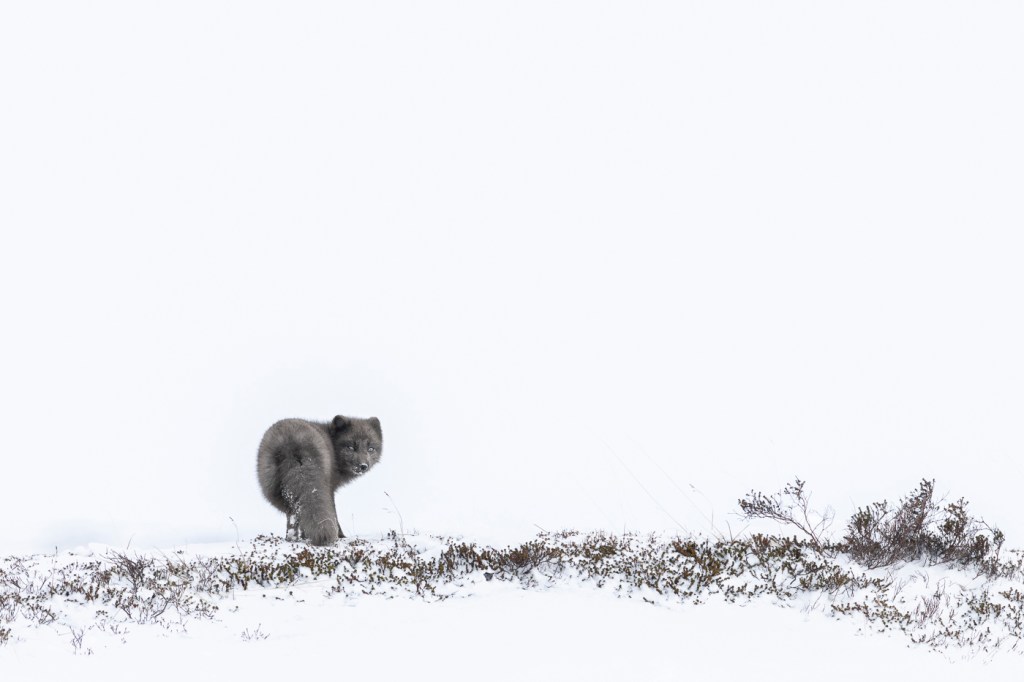
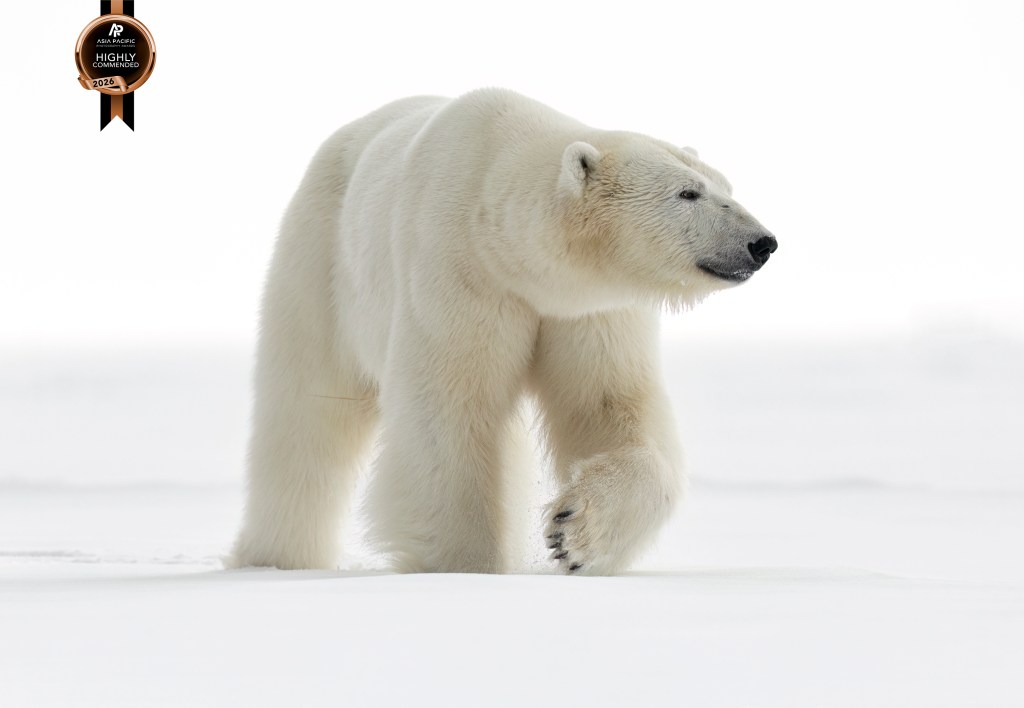
What surprised me the most this year was that the image I felt was, on reflection, my strongest did not do particularly well, scoring a Highly Commended and not even making the top twenty, and thus going no further in the competition. Whilst a highly commended is nothing to be sniggered at, this was a timely reminder that the judging in photography competitions is totally subjective and that the same image in different competitions will get totally different results. It is worth remembering that the benefit of entering these competitions lies in the peer review process (judges’ comments). Of course, one doesn’t have to agree with a judge’s comments, but there’s an opportunity to learn if you are willing to listen and at least consider them.
Over the years, I have been entering photographic competitions I have learned that judges’ comments are a direct reflection of their own interpretations and experiences and are often a useful counterpoint to my own. Judges often bring up elements I had not considered during either the capture or post-production phases of a photograph, and I find it almost always helpful (and, at the very least, interesting) to hear my peers’ interpretations of my work. The key to growing as a photographer through competition is being open to a judge’s comments and not being closed off to their opinions. After all, they are only opinions, and those are something we all possess.
I have heard judges make comments about photographs that I know are totally factually inaccurate (and even laughable on occasion), and I have likewise heard judges’ comments that absolutely, perfectly frame and nail an image critique. The key to using judges’ comments for our own growth is knowing which are valid and which should be discarded as the voice of inexperience. The toughest part of this process is always separating ego from the equation and remaining truly objective about our own work. You have to have the courage to stand by your decisions and convictions as an entrant, but still be open to taking criticism on board when flaws are pointed out (rightly or wrongly). It can be tough to be truly open and objective to critique of our personal work. This is a skill few ever master.
So why didn’t this image of the Impala in morning fog do better than a highly commended award? Quite honestly, I cannot say. Since the photograph failed to make the top twenty, there was no opportunity for judges’ comments, and thus, I have no feedback I can take on board to potentially grow from (or at least consider). I can only surmise that on the given day, it failed to excite the judges sufficiently. This result doesn’t mean I will dismiss it as a ‘bad photograph’ or one that ‘doesn’t make the cut’ as it is still, to my mind, a highly evocative image that captures the impala in a way that presents them as fragile and delicate in the morning fog.
If you are interested in the judges’ comments on the top ten photographs in each category, you can view them on YouTube on the Asia / Pacific Awards YouTube Awards channel. Please note that their videos are age-restricted, so I cannot embed them here on my blog or directly link to them. Congratulations again to all the winners and all those who entered this year’s awards.